Single Sign-On (SSO)
The Single Sign-On feature is part of the Compliance+ Add-On.
The Single Sign-On (SSO) feature allows you to bring your own identity provider to manage authentication to the Friendly Captcha dashboard. This lets you leverage the security you already have in place with your existing identity provider, such as multi-factor authentication (MFA), user lifecycle management, brute force attack prevention, and account takeover protection. It can therefore help you to satisfy enterprise compliance requirements, and means logins from your organization to the Friendly Captcha dashboard align with your internal security policies.
Friendly Captcha SSO works using OpenID Connect (OIDC). Almost all identity providers support OIDC, including Microsoft Entra ID, Google Workspace, Okta, Auth0, Ping Identity, OneLogin, Amazon Cognito, Keycloak, Duo Security etc. Even if your identity provider isn't listed here, it is extremely likely that you can use your identity provider with Friendly Captcha.
This page shows you how to configure SSO authentication in the Friendly Captcha dashboard, and how your team members can use it to log in. If you have any trouble, please do contact support and we'd be more than happy to help!
Configuring SSO
Identity Provider
Before configuring Friendly Captcha SSO, log in to your Identity Provider's dashboard and create an app integration for Friendly Captcha. The terminology may vary depending on the provider, but look for where you can create a "New Application", "New Integration", "New OIDC App", or similar. You may need to consult your Identity Provider's OIDC documentation.
When setting up a new app integration, your Identity Provider will usually ask for one or more Redirect URIs (sometimes called "Sign-in redirect URIs", "Log-in callback URIs", or similar). This is the URL you should provide:
https://app.friendlycaptcha.eu/api/v1/login/sso/callback
Save your new app integration and proceed with the next steps.
Friendly Captcha
In the Friendly Captcha Dashboard, navigate to the Settings page and find the Single Sign-On (SSO) section. It looks like this:
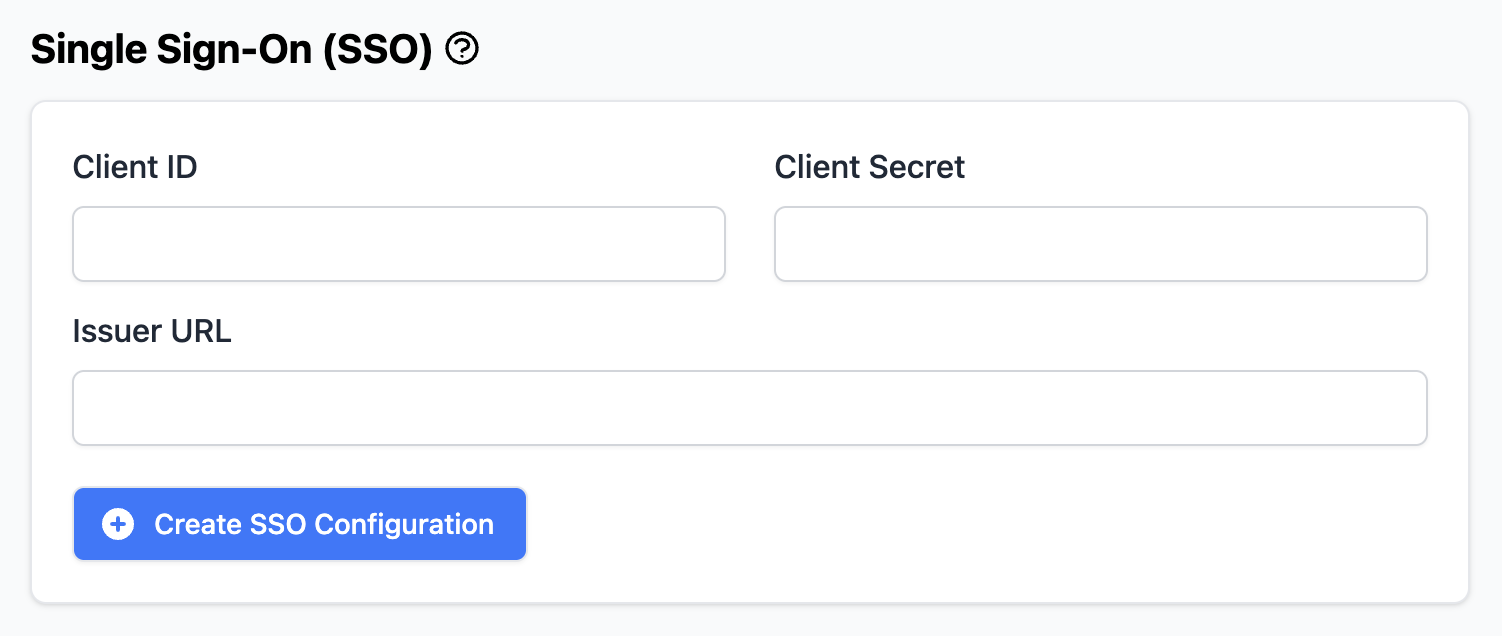
Please fill in these fields with information from your identity provider:
- Client ID
- Client Secret
- Issuer URL
Often this information can be found in your identity provider's administrative dashboard. If you are unsure what values to use, please consult your identity provider's OpenID Connect (OIDC) documentation.
Once you have entered the Issuer URL, a few more fields will automatically appear:
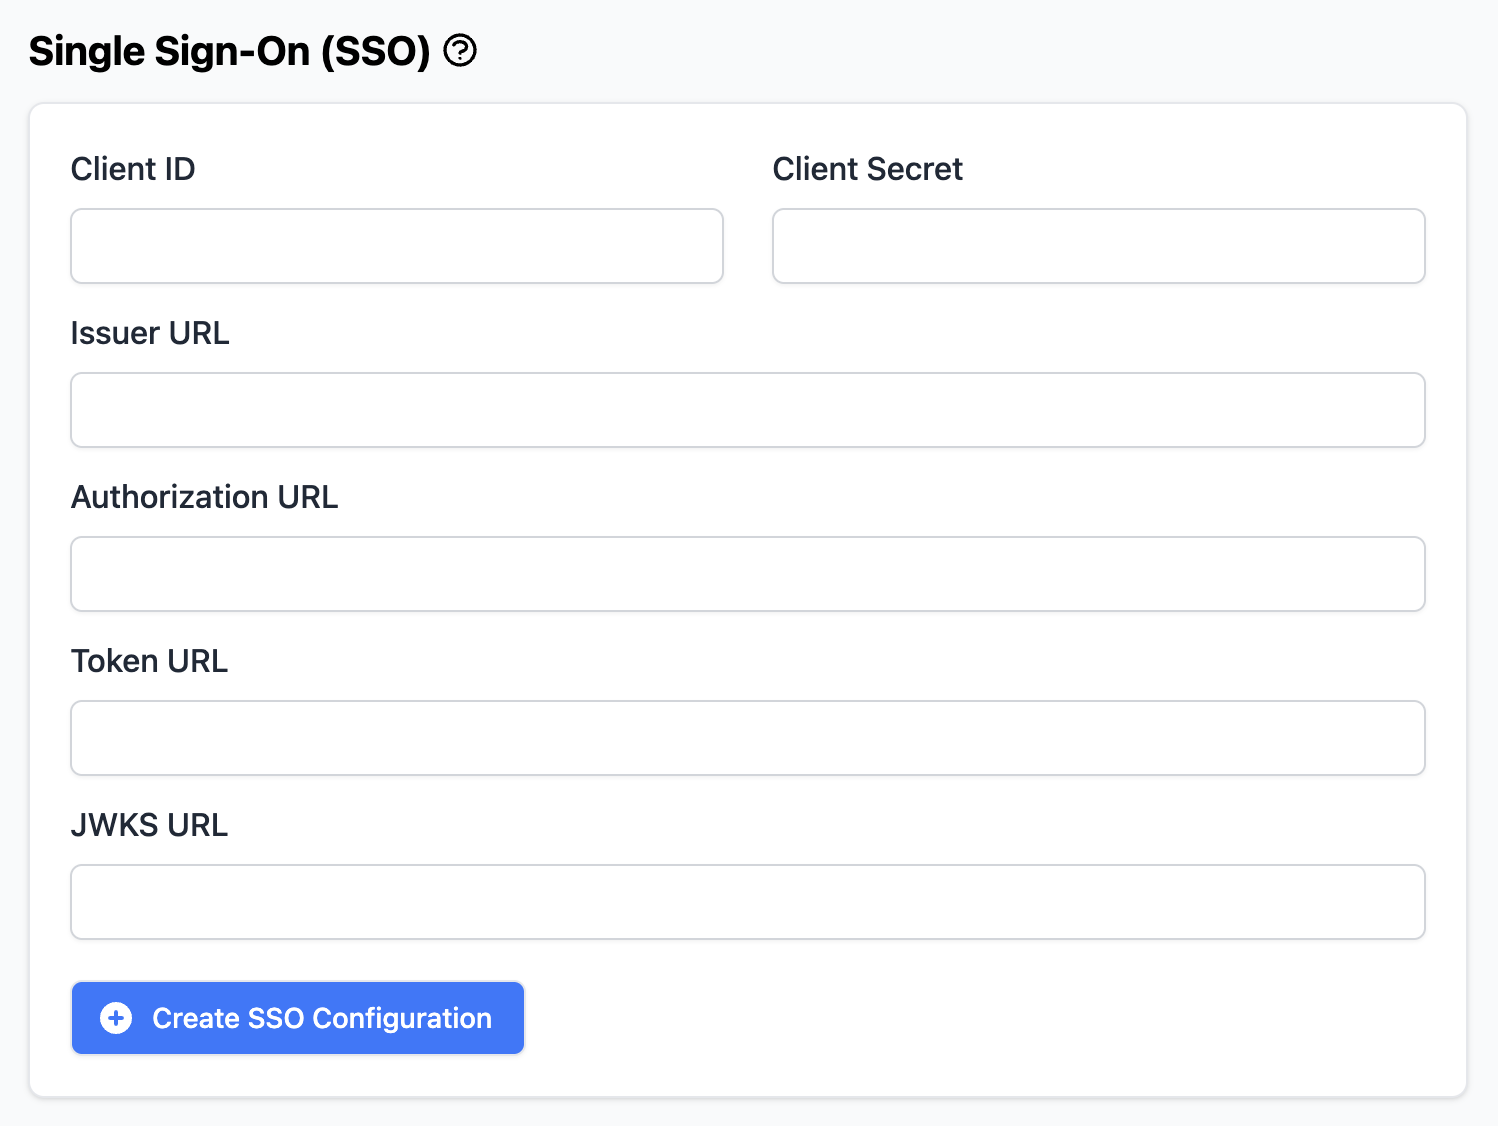
The dashboard will try to automatically fill these additional fields with information gathered from your identity provider; this should only take a couple of seconds. In some cases this automatic process may not be supported by your identity provider, in which case please use information from your identity provider to complete the remaining fields:
- Authorization URL
- Token URL
- JWKS URL
Once you've completed all of the fields, click the Create SSO Configuration button to enable SSO for your Friendly Captcha organization. The information you entered will be saved and visible (except the Client Secret).
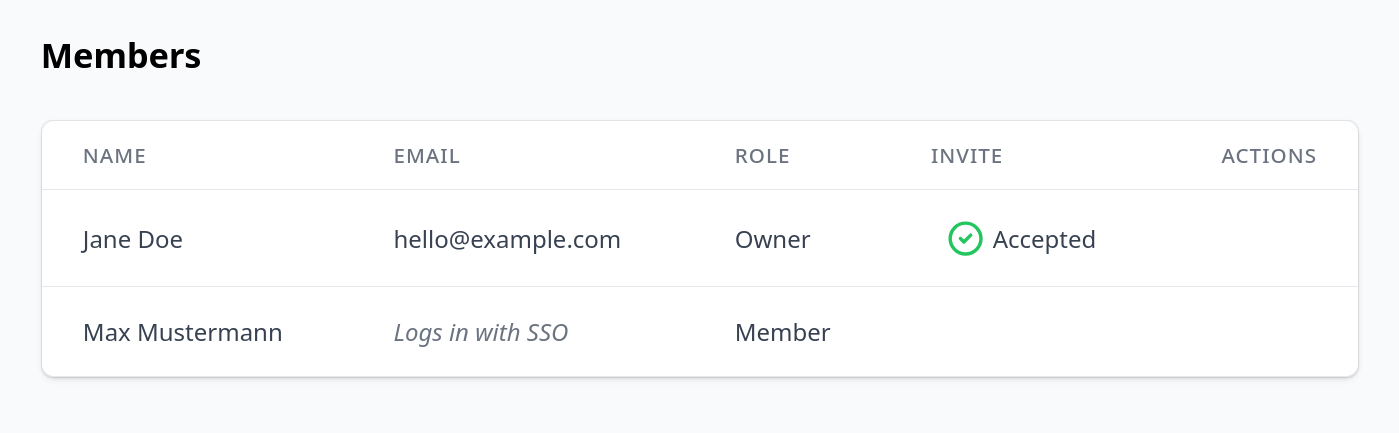
Existing users in your Friendly Captcha organization are unaffected and can continue to login via email, unless you delete their user accounts. The Owner in your Friendly Captcha organization cannot be deleted and must always login via email.
The Members section of the Settings page shows you the list of users for your Friendly Captcha organization. SSO users are always shown with a "Logs in with SSO" label (instead of an email address):
Configuring the Default Role
When a user logs in with SSO to the Friendly Captcha dashboard for the first time, the dashboard automatically creates a user account for them and assigns this new user to the Default Role (e.g. Admin, Member, etc).
To configure the Default Role, go to the Friendly Captcha Dashboard, navigate to the Settings page and find the Single Sign-On (SSO) area. Use the Default Role drop-down menu to select your desired option. See Enhanced Access Control for information about creating more tailored roles to use here.

Once the user has logged in for the first time, they will appear in the Members section of the Settings page. If needed, you and other administrators can change user roles from here. It is usually a good idea to make the Default Role more limited (e.g. Member) so that you can grant more extensive permissions manually on a case-by-case basis (e.g. Admin).
If desired, it is possible to create a Custom Role with fewer permissions than a Member, or even with zero permissions (i.e. unable to view any resources on the dashboard), and then set this Custom Role as the Default Role.
Logging in with SSO
Assuming that SSO is configured for your Friendly Captcha organization using the steps above, team members can now log in to the Friendly Captcha dashboard with SSO using a special login link.
If you aren't the administrator for your Friendly Captcha organization and don't already have a login to the Friendly Captcha dashboard, ask a team member with access to share this SSO Login Link with you.
To retrieve this link, log in to the Friendly Captcha Dashboard, navigate to the Settings page and find the Single Sign-On (SSO) area. You will see a Copy Login Link button:

Click this button to copy the SSO Login Link to your clipboard and share it with your team members. We recommend storing the SSO Login Link somewhere easily accessible and discoverable, so that team members can find it when they want to access the Friendly Captcha dashboard.
When a user opens this link in their web browser, they will be redirected to your identity provider. For example, if your identity provider is Microsoft, the user will need to authenticate to their Microsoft account (unless they are already authenticated). Once authenticated, they will be redirected to the Friendly Captcha dashboard for your organization.
Link caching
For convenience, this SSO Login Link will be cached in the user's browser after a successful login. If the user logs out and later navigates back to the Friendly Captcha Dashboard instead of using the SSO Login Link, they will be shown a Log in with SSO button. Clicking this button will behave the same as using the SSO Login Link.

Disabling SSO
To disable SSO for your Friendly Captcha organization, log in to the Friendly Captcha Dashboard, navigate to the Settings page and find the Single Sign-On (SSO) area. You will see a Delete SSO Configuration button. Clicking this button will ask you to confirm deletion.
If you disable SSO for your Friendly Captcha organization, all SSO users will also be permanently deleted. To see which users this will affect, review the Members section of the Settings page and look for users labelled with "Logs in with SSO".